


How to Schedule Ads on Your LED Sign: Play Ads on Timer
Open Your LED Sign Management Software
Step 1: Log in to your account. Click here.
Step 2: Fill in your Name.
Step 3: Fill in your Password.
Step 4: Click Verify.
Step 5: Head over to the tab named "Content".

Upload Your Ads
Step 6: Click on the blue button "Upload Media".
Step 7: Select the promotional videos and images from your computer/laptop.
Step 8: Click Ok.

Creating a Solution
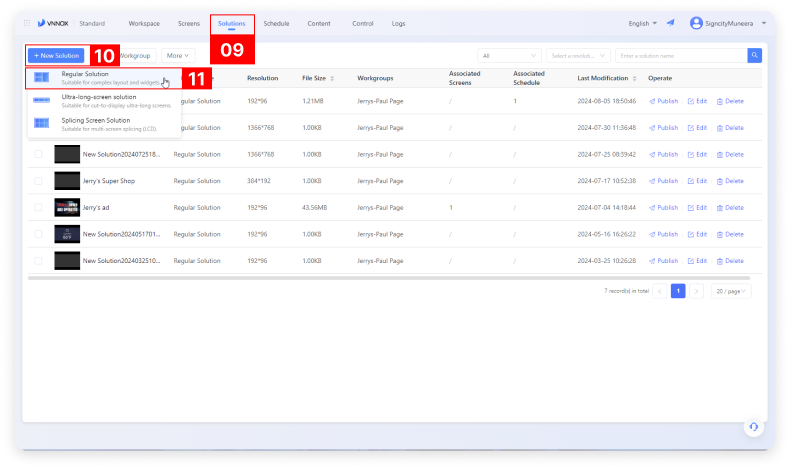
Step 9: Head over to the tab named "Solution".
Step 10: Click on the blue button "New Solution".
Step 11: Select "Regular Solution" from the drop-down menu.
Customize the Solution
Step 12: Solution Name: Assign a title to your ad.
Step 13: Select the default screen to auto-assign the height and width.
Step 15: Click Ok.

Add the Video/Image Ad to the Solution
Step 16: Click on Page.
Step 17: Click on the 1st slide.
Step 18: Select the tab titled 'Video'.
Step 19: Select the recently uploaded image or video.

How to Schedule the Ad
Step 20: Head over to the tab named "Schedule".
Step 21: Select "Add Media" and click "Regular Solution"

Basic Information of the Sign
Step 22: Give a unique name for this particular Ad. For example Christmas Ad
Step 23: Select the default screen size
Step 24: Click OK

Start Scheduling the Ad/ Solutions
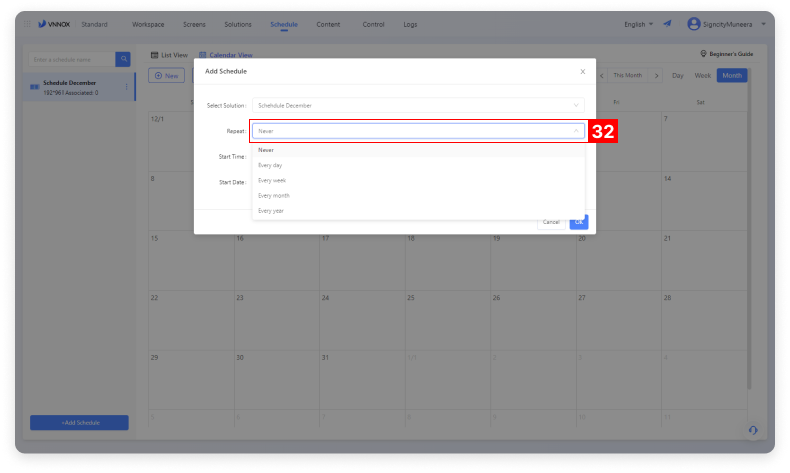
Step 25: Click "Add the Solution"
Step 26 & 27: Select the all the Solutions created in Step 16
Step 28: Click OK

Set the Future Date to Play the Ad
Step 30: Select the date

Step 30: Select the date

Step 31: Reconfirm the name of the campaign

Step 35: Click OK

Step 36: Re-confirm the scheduling
